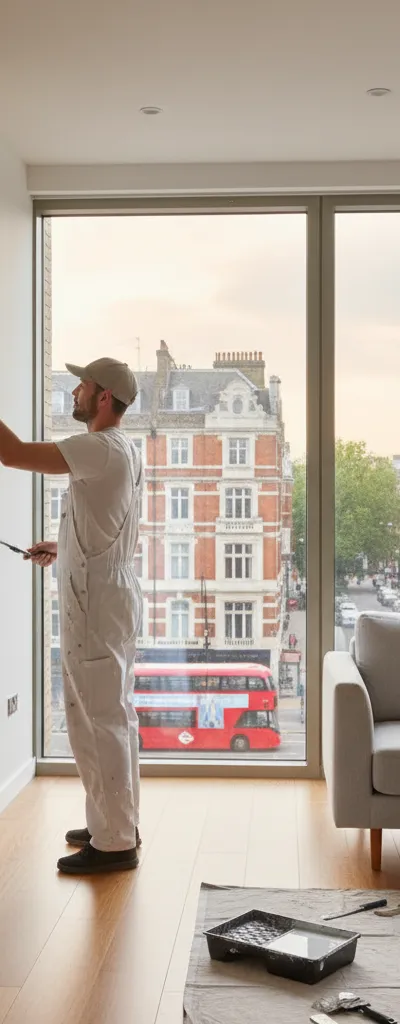
Professional Renovation Preparation: The Secret to a Flawless London Finish
Ask any master decorator from Chelsea to Greenwich what the most important part of a project is, and they won’t say the final coat of Farrow & Ball. They will say the preparation. At The Painters London, we often tell our clients that a high-end finish is 80% preparation and only 20% painting.
In the historic properties of Central and South East London, from Victorian terraces in Dulwich to Georgian townhouses in Kensington, walls have stories to tell—usually in the form of cracks, blown plaster, and decades of uneven paint layers. If you skip the "boring" bits of surface repair, even the most expensive designer paint will highlight imperfections rather than hide them.
In this guide, our team at The Painters London shares the professional secrets to preparing your home for a renovation that looks sharp, feels smooth, and lasts for years.
Why Surface Preparation Matters in London Properties
London homes face unique challenges. The heavy clay soil causes Victorian and Edwardian foundations to shift slightly with the seasons, leading to common hairline cracks in plaster. Furthermore, the city's damp climate can affect how filler dries and how paint adheres.
When you invest in interior painting, you aren't just paying for colour; you are paying for the structural integrity of the finish. Proper preparation prevents peeling, ensures uniform sheen, and provides that "sharp" edge around cornicing and skirting boards that defines a professional job.
Step 1: Clearing the Workspace and Protecting the "London Life"
Before a scraper even touches a wall, the environment must be controlled. In tight London flats or busy family homes in Battersea, space is a premium.
1. Furniture Decanting: Move all furniture to the centre of the room and cover it with heavy-duty plastic sheeting. 2. Floor Protection: Here at The Painters London, we use breathable floor protectors or "Packexe" for carpets and heavy-duty Correx boards for original wood flooring or marble in luxury renovations. 3. Hardware Removal: For a truly professional look, don't paint around light switches, sockets, or door handles. Unscrew them (safely) and bag the screws so they don't get lost.
Step 2: Assessing and Cleaning the Substrate
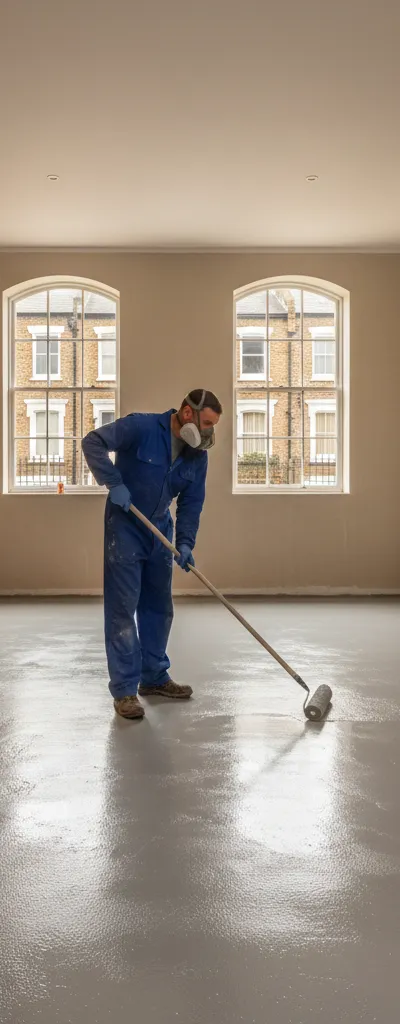
You cannot paint over dust, grease, or grime. In kitchens in Clapham or hallways in high-traffic areas, walls often have a thin film of airborne oils.
The Sugar Soap Scrub
We recommend washing walls with a sugar soap solution. This slightly abrasive cleaner removes grease and provides a 'key' for the new paint to bite into. If you are dealing with a property that was previously occupied by smokers or had a coal fireplace, a specialized stain-blocking primer like Zinsser B-I-N will be required after cleaning to prevent nicotine or soot from bleeding through the new topcoat.Step 3: Mastering Surface Repairs and Filling
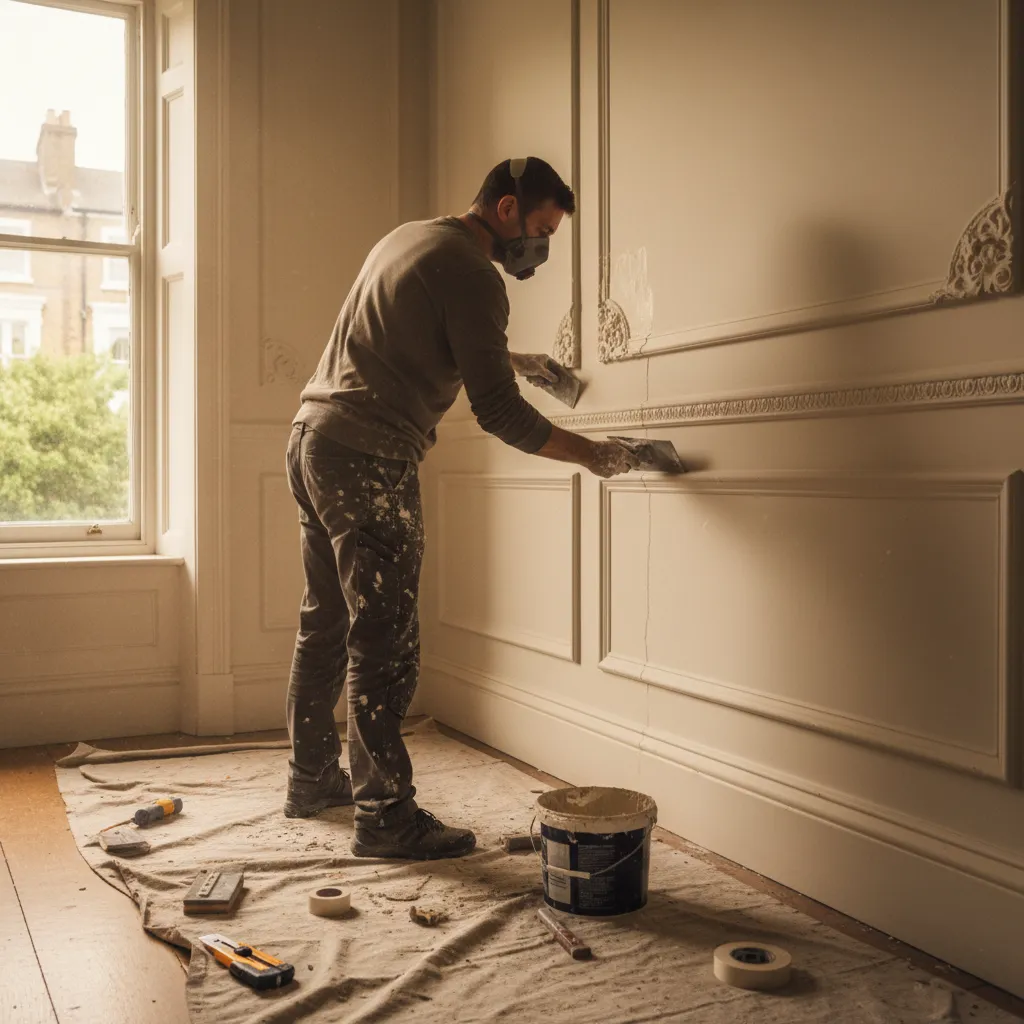
This is where the magic happens. A flat wall is a beautiful wall.
Repairing Hairline Cracks
Hairline cracks are a staple of London renovations. Don't just smear filler over them—they will return within months. The Painters London recommends "raking out" the crack slightly with the corner of a filling knife to create a 'V' shape. This gives the filler more surface area to grip. We often use flexible fillers or fine-surface fillers like Toupret for a glass-smooth finish that moves with the building.Dealing with Blown Plaster
If you tap a wall and it sounds hollow, the plaster has detached from the lath or brickwork. Small areas can be repaired by removing the loose material and "patching in" with a bonding coat followed by a finishing plaster. However, for extensive damage common in older properties in Blackheath or Camberwell, a full re-skim may be necessary before our decorators arrive.Scuffing and Sanding
Sanding is the bridge between repair and paint. We use HEPA-filtered dustless sanding systems (like Festool) to keep London homes clean while we work. Between every coat of paint, a light "denibbing" with fine-grit sandpaper ensures that any tiny dust particles trapped in the wet paint are removed, leading to that signature silk-smooth touch.Step 4: Priming—The Foundation of Colour
Many DIY-ers skip priming, but in a professional London renovation, it is non-negotiable.
* New Plaster (Mist Coating): New plaster is incredibly thirsty. If you apply undiluted trade paint, it will dry too fast and peel off like wallpaper. A "mist coat" (thinned-down emulsion) soaks into the plaster to create a bond. Woodwork: For the grand sash windows and ornate skirting boards of Richmond or Hampstead, we use high-adhesion primers. If you are moving from an oil-based gloss to a modern water-based satinwood from Little Greene*, a specialist transition primer is essential to prevent chipping.
Step 5: Professional Caulking for Sharp Lines
The difference between a "good" job and a "The Painters London" job is often the caulk. Caulk is a flexible sealant used to fill the gaps where two different materials meet—such as where the skirting board meets the wall, or where the coving meets the ceiling.
A thin, steady bead of high-quality acrylic caulk prevents those unsightly black gaps from appearing as the house expands and contracts. It provides a seamless transition that makes the paint colours pop.
Choosing the Right Products for London Homes
London's light can be tricky. North-facing rooms in overcast weather can feel cold. When your surfaces are perfectly repaired, the choice of paint brand matters:
* Farrow & Ball: Known for its high pigment content, it looks stunning on well-prepared period features. * Little Greene: Offers fantastic durability, making it ideal for high-traffic South East London hallways. * Dulux Trade: Our "workhorse" for ceilings and rental properties, offering excellent coverage and a reliable finish.
When to Call in the Professionals
While many homeowners enjoy a bit of DIY, surface repair in older properties can be deceptive. Stripping back old lead-based paint or repairing ornate Victorian cornices requires specialist tools and safety equipment.
At The Painters London, we take the stress out of the "messy phase." We handle the heavy sanding, the intricate filling, and the technical priming so that the final result is nothing short of perfection. Whether you are refreshing a modern apartment in Canary Wharf or restoring a heritage home in Dulwich, our systematic approach to preparation ensures your investment is protected.
Frequently Asked Questions
How long does the preparation phase usually take?
On a standard room, preparation (cleaning, filling, sanding, and priming) usually takes as long as the painting itself. For a high-quality finish, expect the first 50-60% of the project timeline to be dedicated to surface prep.Do I need to sand my walls if they look okay?
Yes. Even if the walls look smooth, "scuff sanding" creates a mechanical bond for the new paint. Without it, the new layer sits on top of the old one and is far more prone to scratching and peeling.Can you fix cracks that keep coming back every year?
In many London homes, seasonal movement is inevitable. While we cannot stop the house from moving, we use high-performance flexible fillers and sometimes "scrim tape" to reinforce the area, which significantly reduces the likelihood of the crack reappearing.Should I prime my walls if I'm using a 'Paint + Primer' in one?
While these products are okay for some DIY tasks, The Painters London always recommends a dedicated primer for specific problems (like stains, new plaster, or transitions between oil and water-based paints) to ensure the longest-lasting result.---
Ready to transform your home with a professional, long-lasting finish?
From meticulous surface repairs to the final flourish of colour, our expert team is here to help. Whether you're in Chelsea, Greenwich, or anywhere across South East London, contact The Painters London today for a detailed consultation.
Practising London painters & decorators since 2019 — every guide is written and reviewed by our working team. About the authors →